Tired of using tons of data recovery software that just don’t work. We’ve got a solution. It’s called the EaseUS Data Recovery Wizard Free, and it’s an answer to all your lost data woes. With the free recovery software, anyone can recover any deleted, formatted or lost data from their PC or removable devices effortlessly.

EaseUS Data Recovery Wizard Free supports a whole range of devices and platforms, like Window, Mac, etc. There is a free version for the app and two pro version that you’d need to buy. We’ll be getting into how you can make use of the free data recovery software but before that, here’s what the software really does.
For Windows: The software is built to save you from all sorts of data that you may have lost by formatting, accidental deletion, virus attack, hard drive corruption, system crash, partition loss, among other things. Using the software you can recover lost files from Windows PC, laptop, SSD, hard drive, USB, digital camera, memory card, etc. There are three steps to go about it: launch>Scan>Recover. Easy enough?
For Mac: EaseUS data recovery software for Mac helps restore lost, deleted and even inaccessible files. It helps save files like audio, video, photo, email, documents from Mac desktop, Mac notebook, SSD, hard drive, USB drive, SD cards, memory cards, digital camera, iPod, CF cards, MP3/MP4 players among others. For Mac, EaseUS offers four kinds of data recovery deleted Mac files, formatted or RAW Mac recovery, Mac partition recovery, and for unknown cases. The recovery method is simple as Window’s and requires no expert skills.
How to Use EaseUS Data Recovery Wizard Free?
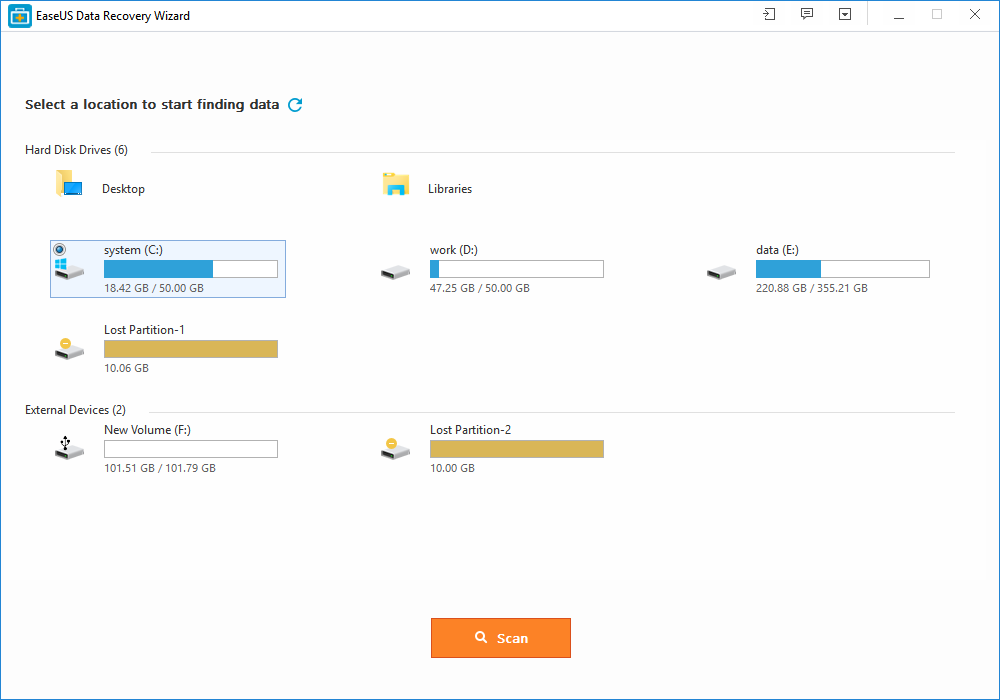
STEP 1: Launch the Program and Begin Scanning
[Note that while downloading the software, avoid installing it in the disk you mean to recover]
After installation, launch the program and select a location (existing partition, lost partition, desktop, etc. ) from where you’d want to find the lost data.
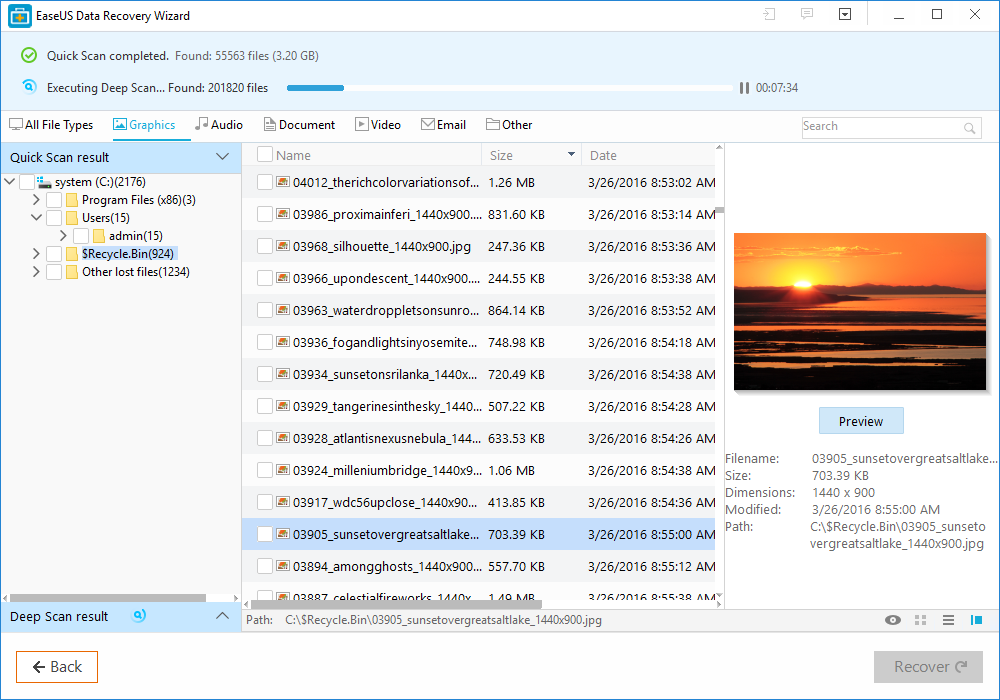
STEP 2: Scan the Device
The begins as soon as you select. The first scan will be quick ending with a list of deleted fails on your device. After that, EaseUS Data Recovery Wizard will begin scanning sector by sector which will take a couple of minutes. You have to be patient at this point.
STEP 3: Preview and Recover
When the scan finishes, you’ll be faced with a list of cleared or lost data. Select the one’s you require and recover. The Directory Tree list is the one step we particularly liked. At the right hand of the screen, thumbnails would appea, so you don’t have to open the files over and over again. This is great because it saves both time and effort.
Once you decide on the file, select it and press the Recover button. Following this, you’ll have to save the recovered file, but be careful and don’t save the files into the drive or device from where the files were lost.
It’s worth noting that the file recovering software supports a ton of languages including German, Japanese, French, Portuguese, Spanish, Swedish, Italian, Dutch, Chinese, Hungarian, Arabic, Turkish, among others. Don’t be afraid to try out the software.